Most important concepts for beginner photography (in my opinion):
- Location
- Editing
- Getting used to it
- Learning More Advanced Concepts
- Creativity
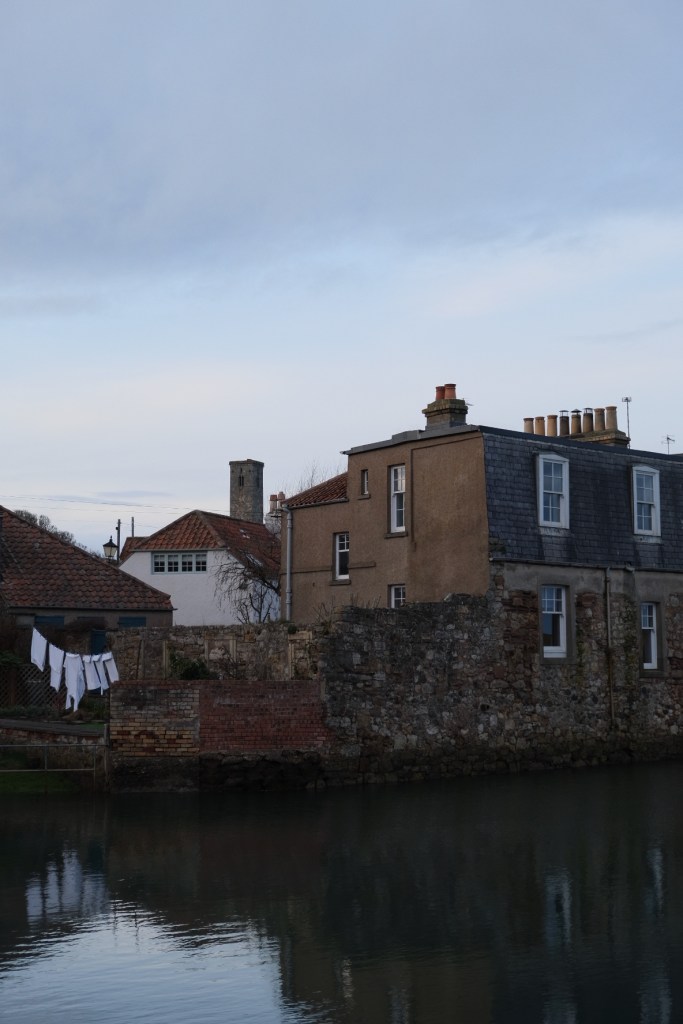
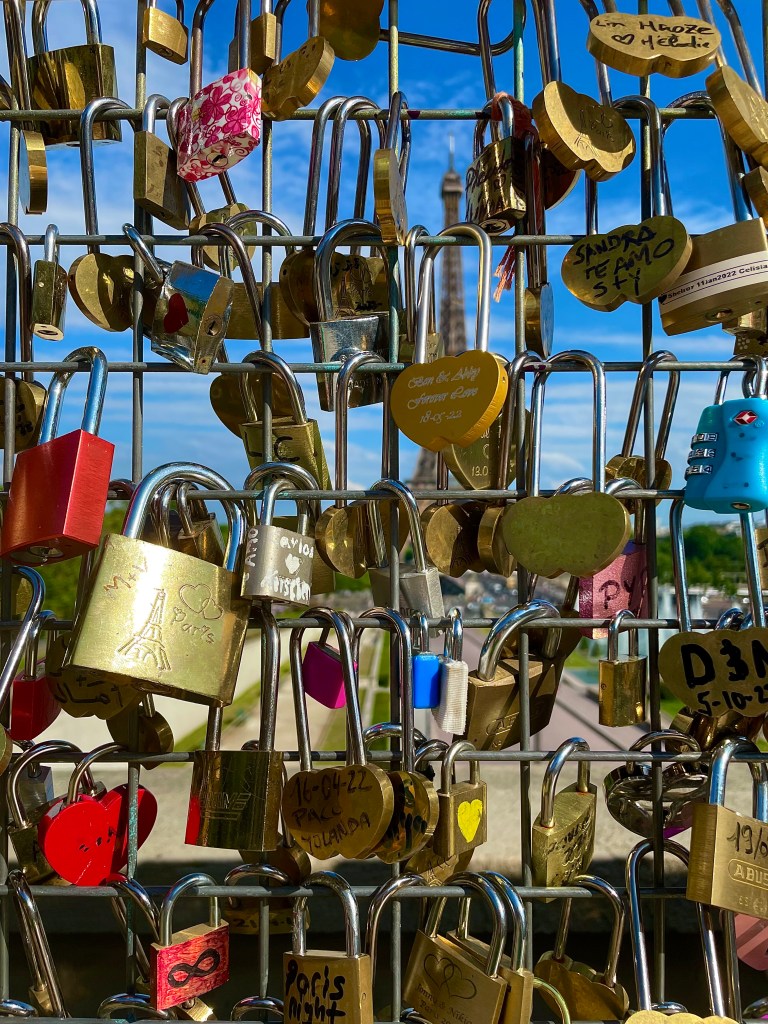
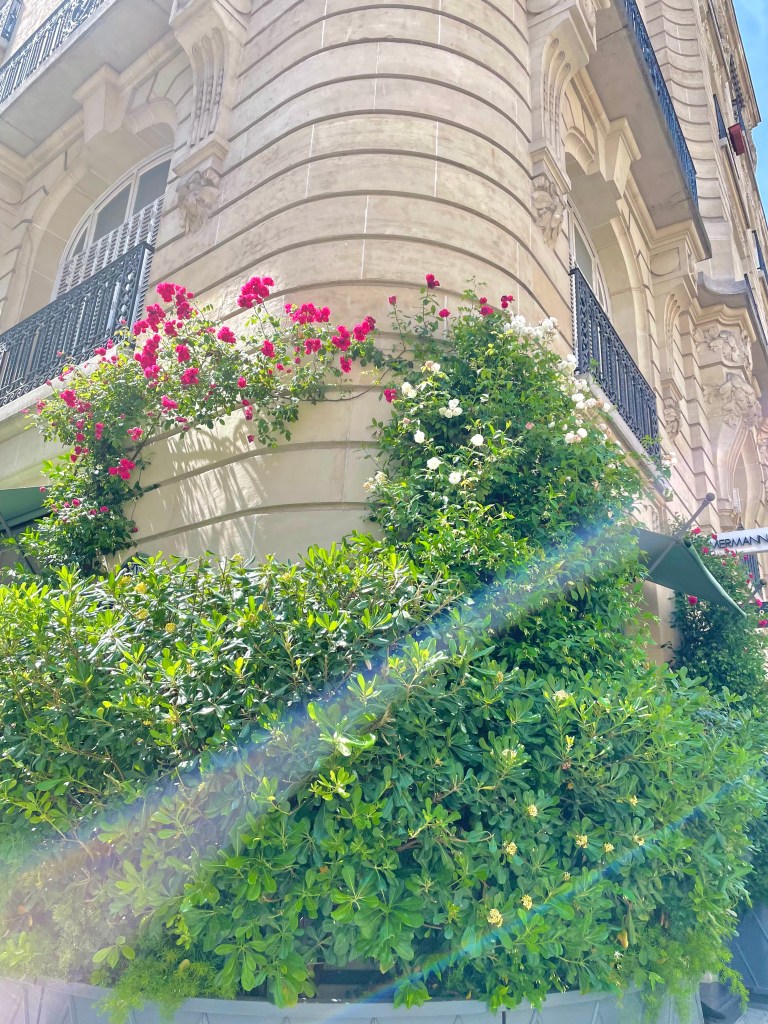
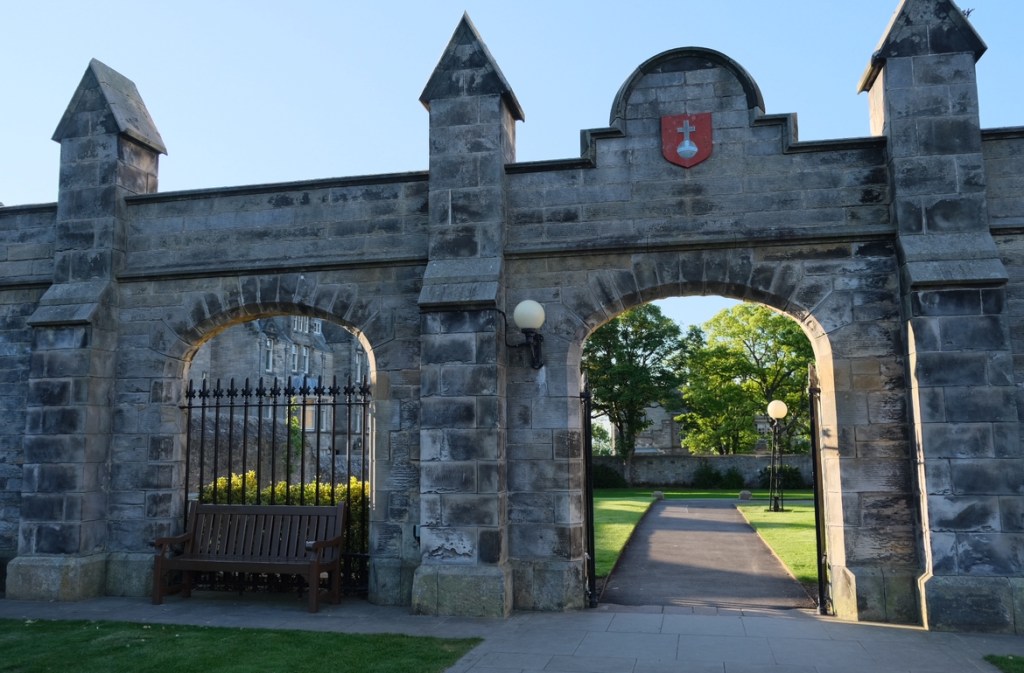
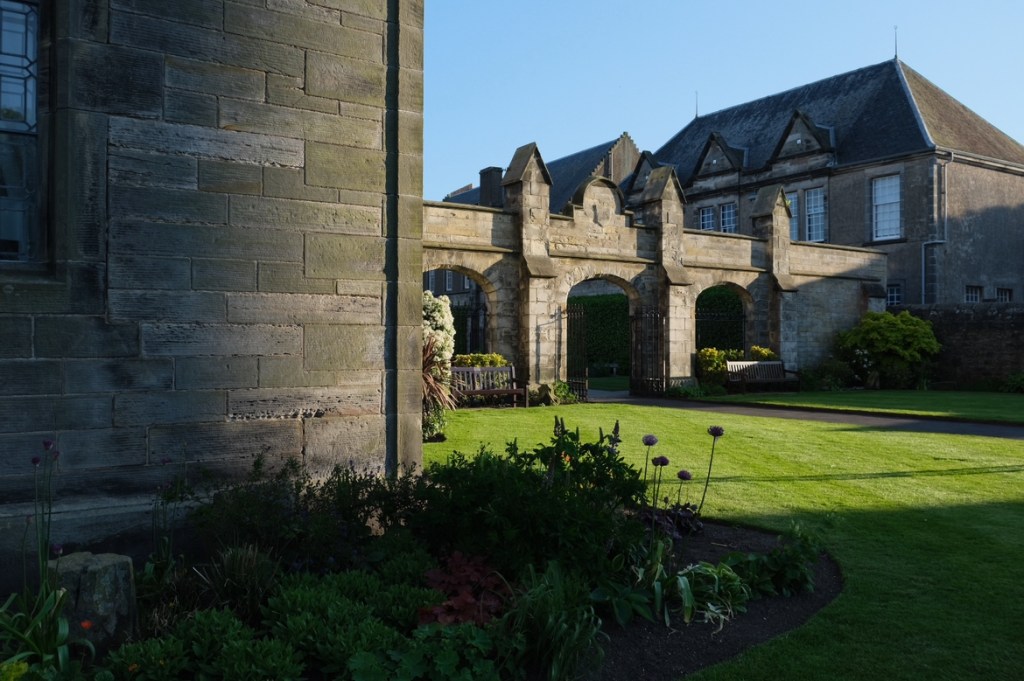
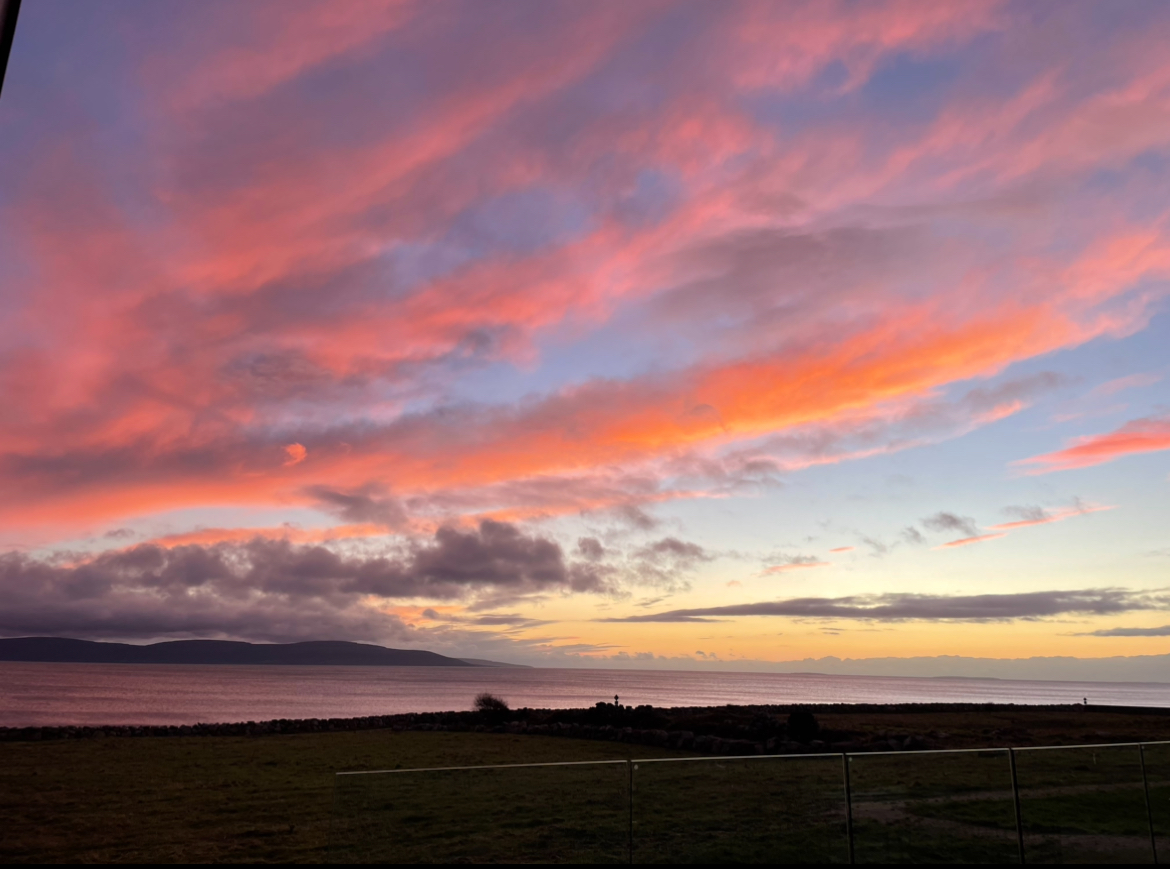
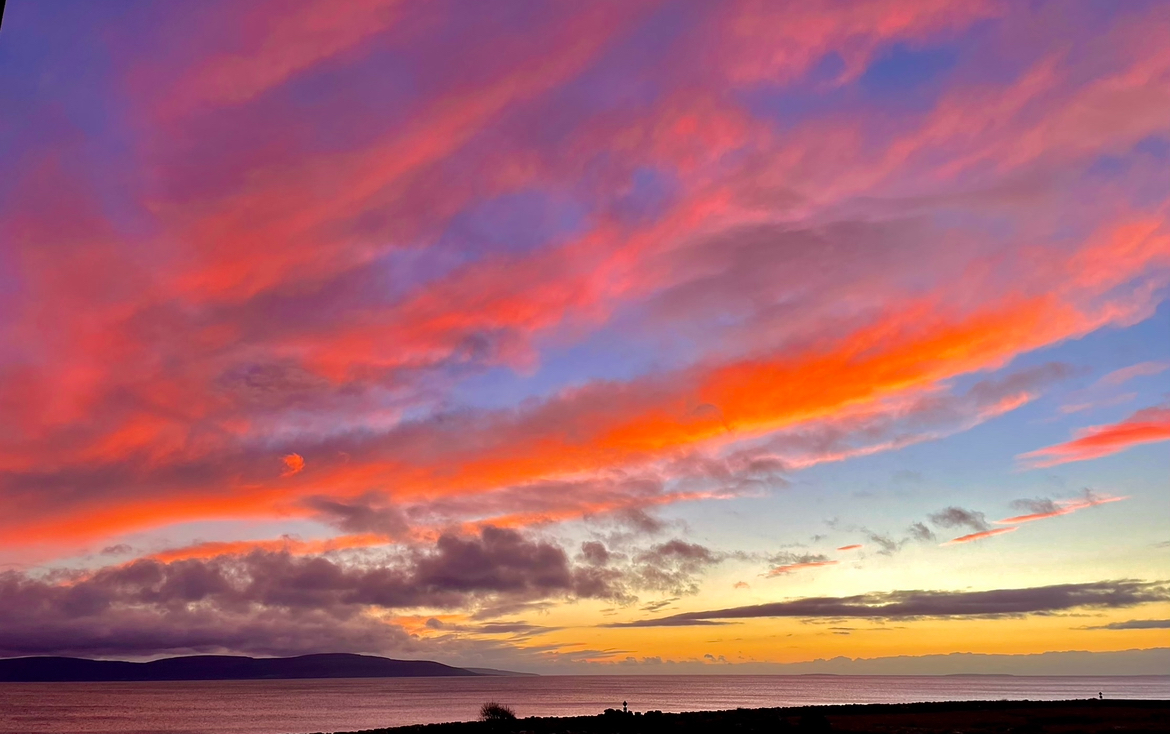
Location: Location doesn’t matter as much as you think it does. Realising this early in your photography journey helps tremendously. You can get some really amazing photos in some not so beautiful places. Train yourself to look around, zoom in and out, change your viewing angles and positions slightly and find some shots. Take as many photos as it takes to even just get one good shot, practice makes perfect to find your aesthetic and idea of a good photo. Remember, you can also always crop photos later. The bottom two photos are the same location, same time, different angles.
Editing: Learning what you want from your pictures, depending on your aesthetic preferences, time of day (amount of light) and colours present all make a big difference to how you edit your photos. Very small simple edits can change a photo dramatically. Suddenly an average photo of the sky can look bright and vibrant. Take your time and don’t overdo it, learn what your photo needs, do you need to adjust the brightness, or does it look better with higher saturation, or both? Find some filter guides you like, play around with copies of the same photo, have fun with it!
Getting used to it: There’s nothing wrong with using the auto mode on your camera whilst learning. If anything, it helped me learn quicker. When using your phone, you have less control and real time information, but results can still be comparable to an expensive camera! Don’t put pressure or rush progress, you’ll only get frustrated. Practice different centerings of the shots you’re taking. I like to go on “photo walks”, both on my own or with friends (with or without their own cameras) and just take some photos of your local area. See what you like, don’t like, appreciate, see. Is it wildlife you like photographing? Buildings? People? Landscapes? It’s all up to you.

Learning More Advanced Concepts: This mostly applies to camera users. Understanding ISO, shutter speeds, field depth (f-value) and balancing exposure takes time. Simply; low ISO, sunny, high ISO, nighttime. ISO also affects the amount of grain in your photos, low has less grain and high has more.
Faster shutter speed is for fast movements, lets in the least amount of light and the photos will not have much blurring. Slow shutter speeds, for still life mostly, allows the most amount of light in and the image will blur any movement. This is great for nighttime or star photography (you will need a tripod or something to keep your camera completely still for up to 30 seconds, but results are worth it).
F-value depends on the depth you’re trying to shoot, in general, low f-value for close up shots (blurry background of low depth of field), high for landscape or far away shots where everything is in focus. The f-value will also affect the amount of light you let into your lens.
Exposure can be monitored in real time by most cameras before you take the photo. Most of the time you want an exposure of 0, meaning the photo is neither under or over exposed. You can also edit this later, but always better to have the highest quality shot to play around with later.
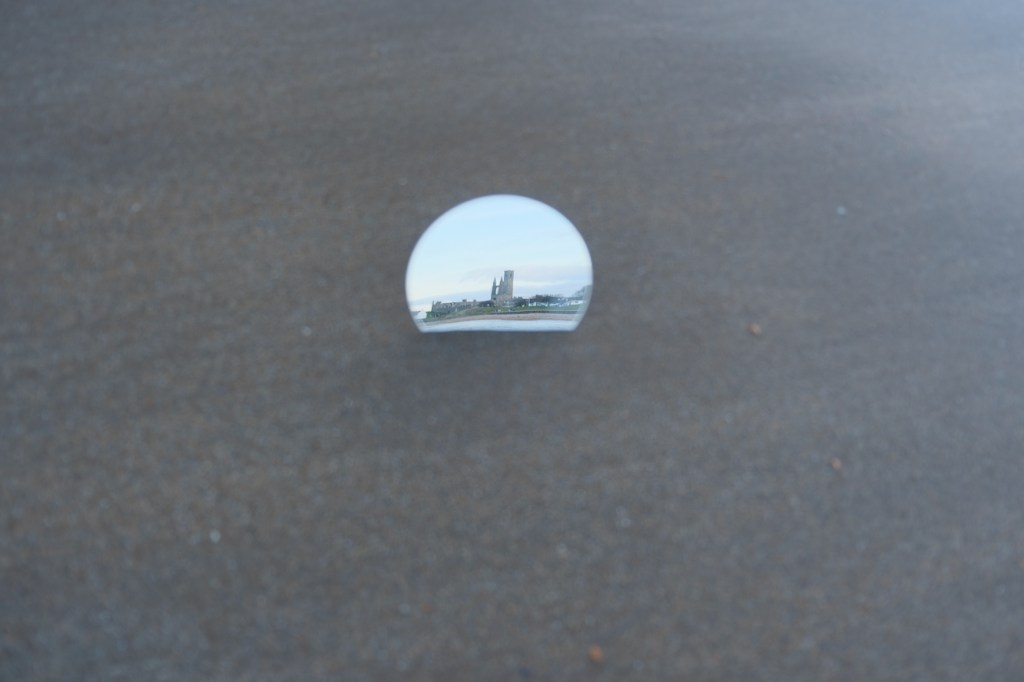
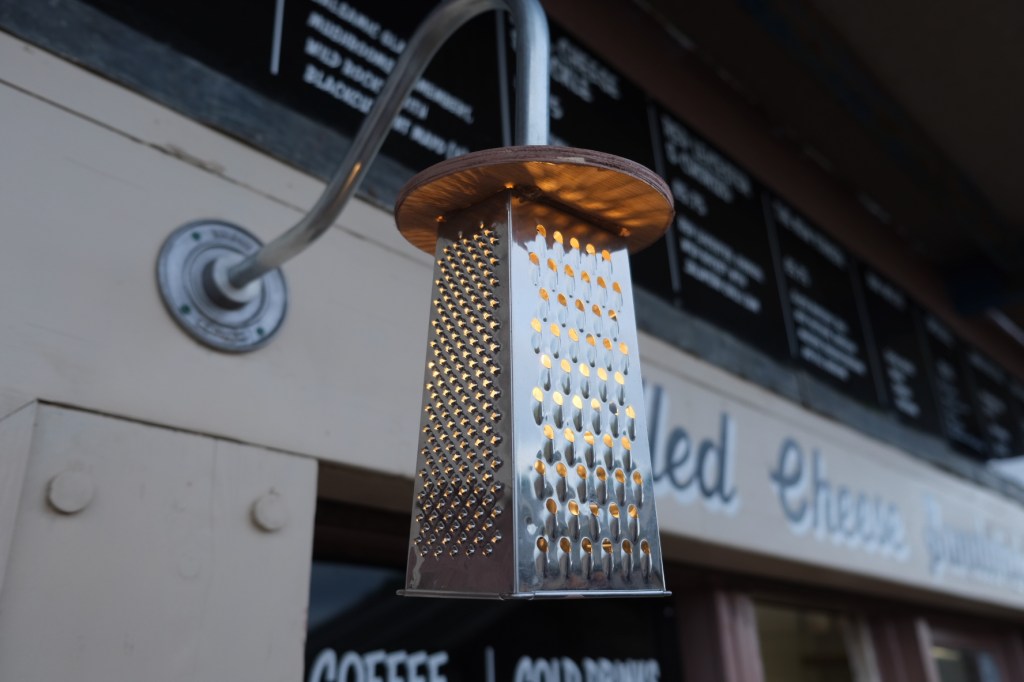
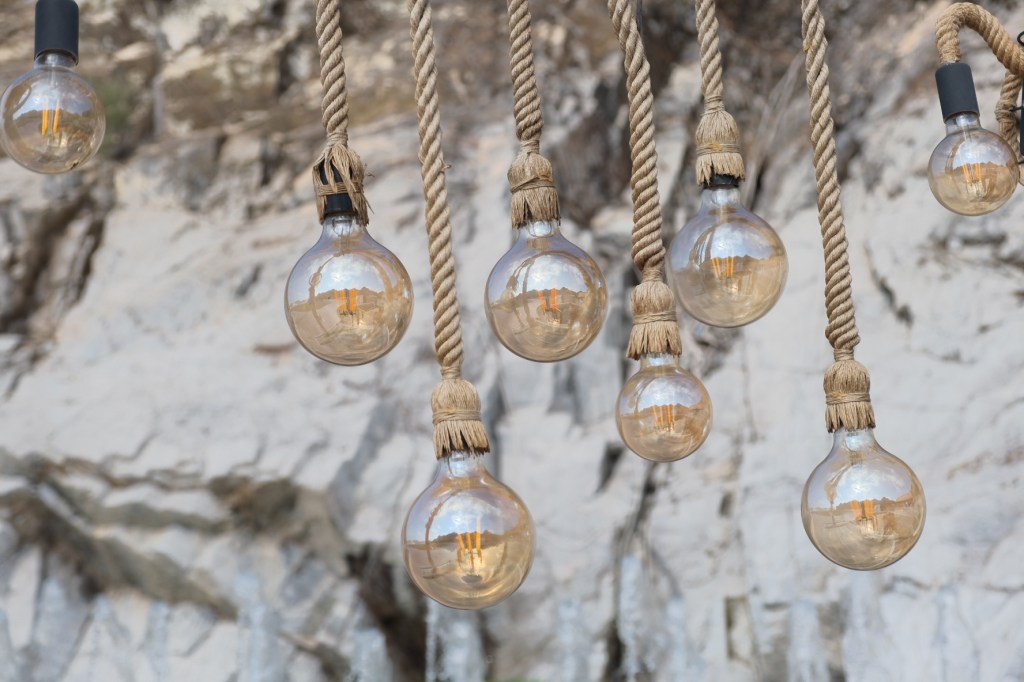
Creativity: This links with location too. Find something you can take a photo through. Grab a mirror and find a way to incorporate it in the photo. Take close ups of odd or interesting things. Don’t be afraid to have bad or imperfect shots. It’s supposed to be a fun hobby! You’ll figure out your style and aesthetic easier if your experience is relaxed and not rushed.